DIY DTF Printing at Home has exploded in popularity among crafters, designers, and small brands who want high-quality, durable designs without the overhead of a commercial studio, enabling unique runs, personal merch, and rapid market testing from a kitchen table or garage workshop, all while you learn a repeatable, scalable workflow that fits your space and schedule. For hobbyists and entrepreneurs alike, DTF printing at home offers flexibility, rapid prototyping, and vibrant results by leveraging consumer-friendly printers, coated films, and heat presses that fit a home workspace and a modest budget, backed by a budget-friendly kit, safety-minded practices, and room for experimentation. Understanding the basics—design, print, powder, cure, press, and peel—helps you master the DTF transfer at home workflow with fewer surprises and more consistent outcomes in a wide range of fabrics, while focusing on precise alignment and consistent powder application to minimize waste. A solid DTF printing tutorial for beginners lays out clear steps, common pitfalls, and practical tips, so you can progress from simple designs to more complex artwork with confidence and a repeatable process, and you may even document settings to compare results over time. As you invest in at-home DTF printing equipment and build a repeatable process, you’ll save time and money while producing professional transfers suitable for small runs and evolving product lines, expanding your toolkit from basic films to advanced coatings as your skills grow.
From a different perspective, this home-friendly approach to decorating fabrics centers on film-to-textile transfers that move artwork from printable media to clothing using heat and pressure. The at-home workflow relies on compatible DTF films, powders, and compact heat tools that fit inside a garage workspace, with careful attention to color control, fabric type, cure times, and consistent procedure. For beginners, framing the topic as a DIY textile transfer project emphasizes a calm, iterative process—test, adjust, and repeat—before committing to larger runs. Viewed through an LSI lens, related concepts such as substrate prep, adhesive bonding, curing, and garment finishing reinforce the core idea of practical, scalable decorating methods that can be executed at home.
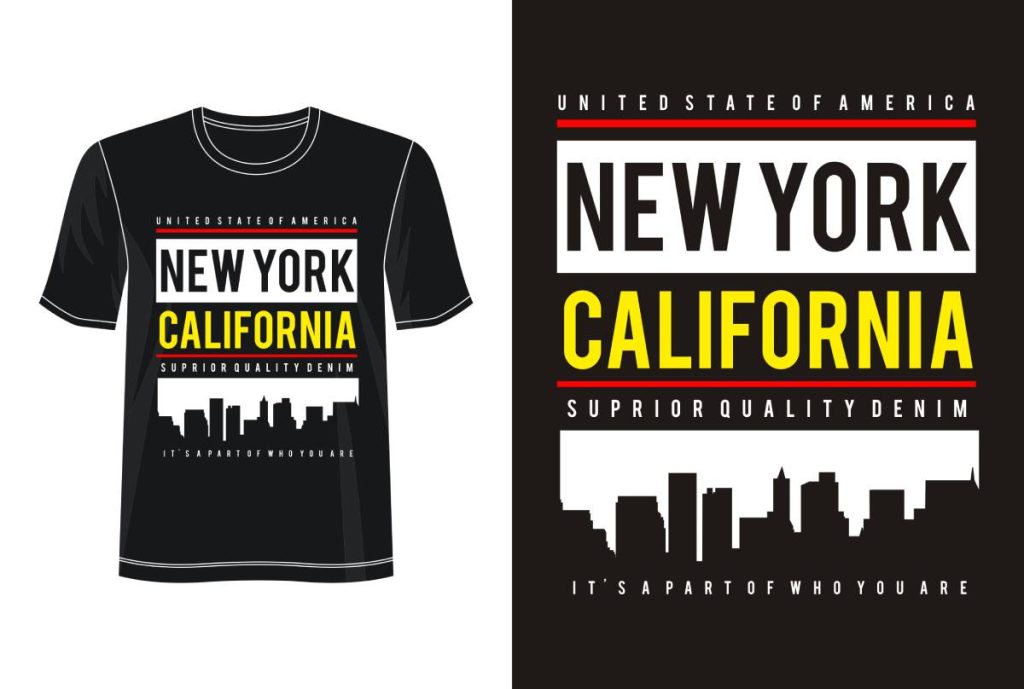
DIY DTF Printing at Home: A Beginner-Friendly Overview
DIY DTF Printing at Home has surged in popularity among crafters, designers, and small business owners who want vibrant, durable transfers without the expense of a traditional studio. This DIY DTF printing guide introduces the core workflow, why it suits short runs, and how beginners can approach equipment, supplies, and setup with confidence. By understanding the steps from artwork to application, you’ll see how DTF transfers can be a flexible and budget-conscious option for home projects.
In this overview, you’ll learn what makes DTF printing at home accessible, including the basic sequence—design, print on film, powder, cure, press, and peel—and how to approach testing and iteration. The focus is on practical, at-home workflows that minimize waste while maximizing quality, so you can start with simple designs and gradually expand your capabilities as you gain experience.
DTF Printing at Home: How It Works and Why It Matters
DTF printing at home starts with a design printed onto a specialized DTF film using pigment-based inks. After printing, an adhesive powder is applied, the film is cured to set the powder, and excess powder is shaken off. The prepared film is then aligned on the garment or substrate and pressed with heat until the transfer bonds to the fabric. This process creates a vibrant, full-color transfer that can be applied to cotton, blends, and more, making it a versatile option for small runs.
Understanding the workflow helps beginners appreciate why DTF transfers at home can rival traditional methods for certain projects. The combination of film quality, proper curing, and precise heat pressing enables durable results with strong color reproduction, even on dark fabrics. This makes DTF printing at home a compelling choice for individuals testing designs, producing limited editions, or running micro-batches without extensive setup.
Essential at-Home DTF Printing Equipment: Tools You Need to Start
To begin with at-home DTF printing equipment, you’ll want a compatible printer that can work with pigment-based inks suitable for DTF workflows, along with DTF film, white and color inks, and hot-melt adhesive powder. A heat press (or a reliable household alternative) is essential for the final transfer, and you’ll also need transfer tapes, a squeegee, protective sheets, heat-resistant tape, and shims for alignment. Design software or accessible online tools round out the setup, letting you prep artwork before printing.
Choosing the right tools is about balance—quality results without over-investing. As you grow more confident, you’ll explore higher-end films, powders, and even dedicated DTF printers. The key is maintaining a consistent workflow and compatible materials so you can reproduce reliable results across projects, reinforcing the idea of at-home DTF printing equipment as an enabler of creativity and experimentation.
DTF Printing Tutorial for Beginners: Step-by-Step Workflow
DTF printing tutorial for beginners centers on a clear, repeatable process. Start with design prep—high-resolution artwork (300 dpi or higher) with bold, scalable elements, and mirror the design for the film. Prepare the file for printing with proper color profiles, then print the white underbase first if you’re applying to dark fabrics, followed by the color layers. This setup helps ensure brightness and color accuracy during the actual transfer.
Next comes the adhesive powder and curing steps. While the ink is still tacky, apply a light, even coating of hot-melt powder, then cure the film to fix the powder in place. Shake off excess powder, align the film on the garment, and press with a calibrated heat press—typically around 320–340°F (160–170°C) for 10–20 seconds—before peeling (warm or cold depending on material and preference). Finishing touches include cooling, washing care, and ensuring the garment remains flat during pressing to avoid ghosting or misalignment.
Troubleshooting Common DTF Transfers at Home
Even with careful practice, you may encounter common issues like faint colors, pale whites, or ink misalignment. Faint colors can indicate ink density, color profile mismatches, or insufficient white underbase on dark fabrics. Revisit printer calibration, adjust color density, and ensure the white base is solid and cleanly printed to improve vibrancy.
Powdering and curing problems are another frequent hurdle. If the powder doesn’t cure properly, verify your curing temperature and dwell time, and confirm the powder is evenly distributed with minimal clumps. If the film doesn’t release cleanly after pressing, double-check the temperature, pressure, and dwell time, and ensure the garment lies flat without wrinkles. Adjusting these variables and running a few test pulls can dramatically improve results.
Design to Finish: Best Practices for DTF Transfers at Home
An effective design-to-finish approach starts with artwork prepared for DTF workflows: high-resolution images, bold vectors for logos, and appropriate white space to accommodate the white underbase on dark fabrics. Use color profiles that translate well to pigment inks and consider spot colors to preserve critical hues. Running test prints helps you dial in settings and ensures your final transfer looks as intended, aligning with the idea of a DIY DTF printing guide that emphasizes planning and validation.
In the finishing stages, focus on care and durability: proper curing, correct pressing parameters, and cautious washing instructions to maximize longevity. Document your workflow to enable repeatability, and keep your at-home DTF printing equipment clean and well-maintained. By refining your process from design to post-care, you’ll produce consistent, professional-looking transfers that stand up to repeated wear and washing.
Frequently Asked Questions
DIY DTF Printing at Home: What equipment do I need to start and how should I choose at-home DTF printing equipment?
Essential starter gear for DIY DTF Printing at Home includes a pigment-based printer, DTF film (clear PET), white and color pigment inks, hot-melt adhesive powder, and a curing method. You’ll also need a heat press (or a sturdy household iron as a budget option), transfer tapes, a squeegee, protective sheets, heat-resistant tape, design software, and blank garments for testing. Optional items like a temperature controller and a reliable thermometer help ensure consistent results. When choosing at-home DTF printing equipment, prioritize compatibility (film, ink, powder), reliable calibration, and support resources over brand names.
DTF printing at home: How does this process compare to traditional screen printing or other transfer methods for beginners?
DTF printing at home offers vibrant, full-color transfers with good durability and the ability to run small quantities without setup fees. Compared to screen printing, it requires less upfront space and can handle complex designs, but it needs careful calibration of inks, film, and powder. When compared with other transfers, DTF can produce soft, durable prints on various fabrics, though the initial equipment and consumables can be pricier. For beginners, the workflow—design, print on film, apply adhesive powder, cure, press—remains straightforward once you’ve mastered the basics.
DTF printing tutorial for beginners: What is the basic step-by-step workflow for DIY DTF Printing at Home?
Basic steps: 1) design and mirror artwork for printing. 2) Print on the DTF film with white underbase (if needed) followed by color layers. 3) Apply hot-melt adhesive powder while the ink is tacky. 4) Cure the film to set the powder. 5) Shake off excess powder. 6) Preheat the garment and secure the film with transfer tape. 7) Press at the recommended temperature (typically around 320–340°F / 160–170°C) for 10–20 seconds with firm, even pressure. 8) Peel the film (cold or warm depending on material) and allow to cure. 9) Care for the finished item per fabric guidelines.
DIY DTF printing guide: Which materials are essential, and how should you approach curing and safety?
Key materials: printer with pigment inks, DTF film, white and color inks, hot-melt powder, curing method, heat press, transfer tape, squeegee, protective sheets, heat-resistant tape, and garment substrates. In terms of safety, work in a well-ventilated area, wear eye protection when handling powders, and clean surfaces after sessions. For curing, maintain a steady temperature and consistent dwell time to fix the powder to the film, ensuring clean release during pressing.
DTF transfer at home: How should I set up and calibrate my heat press for reliable transfers?
Start with a stable, level heat press setup. Calibrate: set the recommended temperature (often 320–340°F / 160–170°C), decide on the dwell time (commonly 10–20 seconds), and apply steady, even pressure. Use a protective sheet over the transfer and a preheated garment. Run test prints on scrap fabric to dial in temperature, time, and pressure for different fabrics, then document the settings for reproducibility.
DTF printing at home: What are common issues and troubleshooting tips to improve results with at-home DTF printing equipment?
Common issues and fixes include: – Faint colors or weak whites: check ink density, printer calibration, and ensure proper white underbase. – Powder not curing: verify curing temperature/time and ensure powder is evenly distributed. – Film not releasing cleanly: ensure full curing and keep the film flat during pressing. – Peeling after wash: confirm adequate heat, time, and pressure, and follow wash-care guidelines. Always test on scrap garments when adjusting settings and keep an organized log of successful parameter combos.
| Key Point | Summary |
|---|---|
| What is DTF Printing? | DTF stands for direct-to-film; it prints designs onto a coated film with pigment inks, applies adhesive powder, cures, and presses the design onto a garment. The result is a vibrant, durable transfer suitable for cotton, polyester, blends, and more. |
| Why DIY DTF at Home? | Offers flexibility for short runs and custom orders, enables full-color designs, supports rapid prototyping, and can be budget-friendly with the right equipment. |
| Starter Gear You’ll Need | Printer with pigment inks, DTF film, white and color inks, hot-melt adhesive powder, heat source (heat press or iron), transfer tape, squeegee, protective sheets, heat-resistant tape, design software, and a garment substrate. Optional: temperature controller and thermometer. |
| Design and File Prep | Work at 300 dpi or higher; use bold vectors; mirror the design for reverse printing; plan for a white underbase on dark fabrics; choose colors that translate well to pigment inks. |
| Printing on DTF Film | Print the image onto the DTF film, with the white underbase printed first for dark fabrics. Enable a white ink channel if available. |
| Powdering and Curing | While ink is tacky, apply hot-melt adhesive powder evenly; cure the film to set powder, then shake off excess. Proper curing ensures clean release during pressing. |
| Prepping the Garment and Transfer | Remove wrinkles, preheat fabric, position the transfer, secure edges with heat-resistant tape, and ensure proper orientation. |
| Pressing and Peeling | Set temperature/time per material guidelines, cover with a protective sheet, press, then cool before peeling. Cold or warm peels may yield better results depending on fabric. |
| Finishing Up and Care | Cool the garment, wait 24–48 hours before washing, then wash on gentle cycle and air-dry or tumble-dry on low heat to preserve durability. |
| Common Mistakes and Troubleshooting | Faint colors, powder curing issues, poor film release, or rough edges after washing. Address by checking ink quality and printer calibration, ensuring proper curing, and verifying press settings and alignment. |
| Safety and Maintenance | Work in a ventilated space, wear eye protection when handling powders, keep tools clean, and regularly inspect equipment while replacing consumables as needed. |
| Tips for Consistent Results | Create a dedicated workspace, run test prints to dial in temps and pressure, calibrate printers, label designs, and log settings for different fabrics. |
| Why This Method Works for Beginners | The workflow is forgiving and approachable, allowing beginners to start simple and progressively tackle more complex designs as skills grow. |
| Real-World Applications and Opportunities | From custom apparel for small businesses to club uniforms and gifts, DIY DTF transfers enable rapid prototyping, limited runs, and expanded product offerings. |
Summary
Table summarizes key points about DIY DTF Printing at Home, covering workflow steps, required gear, design prep, printing, curing, pressing, finishing, troubleshooting, safety, and practical applications.