UV DTF Transfer blends Direct-to-Film technology with UV-curable inks to deliver vibrant, durable designs on T-shirts and textiles, offering a versatile option for creators seeking standout prints today. In practice, this approach integrates well with DTF transfer on shirts, UV printing for textiles, and a workflow that emphasizes color fidelity, edge sharpness, long wear, and repeatable success. A successful project begins with careful substrate preparation for transfers and ends with precise heat press settings for DTF to protect ink integrity and fabric texture across multiple garments. Design considerations play a big role, from planning t-shirt design ideas that translate well to UV ink to ensuring artwork stays crisp through the white underbase process when needed, plus scalable templates for fast production. With the right setup, the method can yield saturated colors, smooth gradients, and durable washes, making it a practical solution for small-batch runs or on-demand apparel in production environments safely.
This approach can also be described as a UV-curable direct-to-film workflow, a UV-ink transfer on textiles that blends digital print clarity with durable fabric adhesion. Alternative terms include ultraviolet-based DTF printing for garments and UV-driven textile transfers, which share core steps like high-resolution design, substrate prep, and precise heat activation. From an SEO perspective, related phrases such as digital textile printing, UV-curable ink on fabrics, and powder-assisted transfers help broaden coverage. This LSI-friendly framing supports searches around t-shirt printing ideas, color management on dark fabrics, and rapid prototyping for apparel lines. Using varied terminology also helps align your content with related topics like substrate preparation, heat press processes, and garment finishing without relying on a single label.
UV DTF Transfer Fundamentals: Why It Elevates Apparel Branding
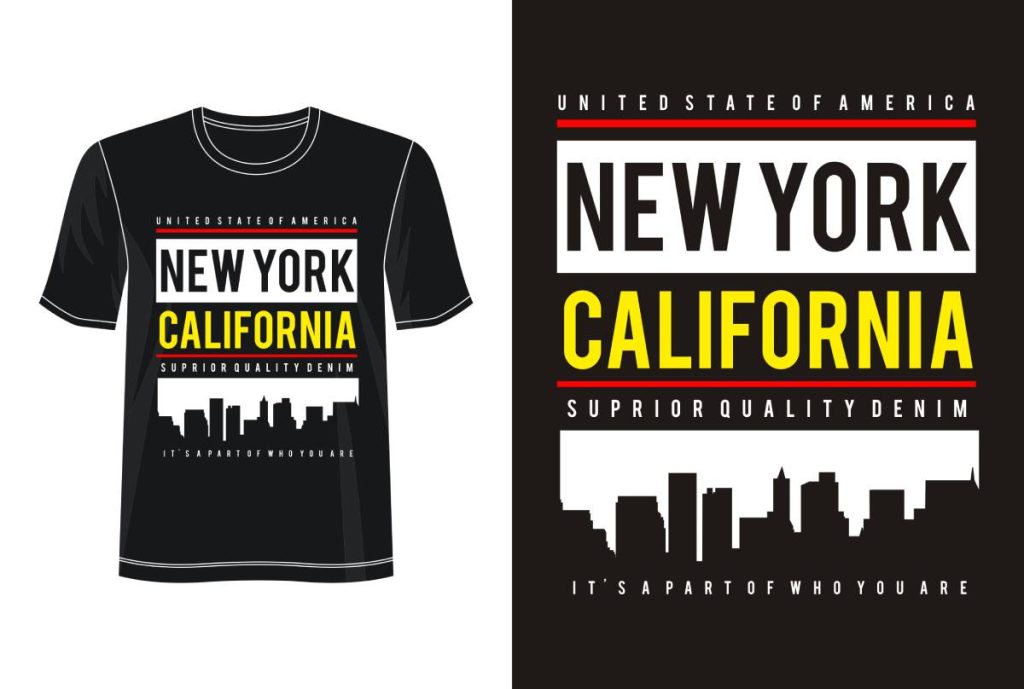
The UV DTF Transfer method blends Direct-to-Film (DTF) technology with UV-curable inks to create designs that pop on apparel. By printing on a transparent PET film with UV inks and then transferring to fabric, you get a print that looks sharp and resists fading. The term ‘DTF transfer on shirts’ comes to mind, because you can work with a wide range of fabrics while maintaining bold color fidelity. The UV path adds rapid curing and a smooth gradient that traditional solvent inks sometimes struggle with. Designers appreciate this for vibrant logos, photos, and typography. The process builds on standard DTF principles, but the UV element changes how quickly the ink cures and how durable the print feels on different substrates. This makes UV DTF a versatile option for small runs, on-demand printing, or custom T-shirts that demand detail, color depth, and a clean finish.
In practical terms, UV DTF Transfer offers strong color saturation and wash-fastness across textiles. It aligns well with broader ideas in UV printing for textiles, especially when your project requires tight control over gradients and edge sharpness. The method remains friendly to t-shirt design ideas that push color, texture, and realism—think photographic imagery, bold type, or intricate line art. When you plan your design, consider the garment color and fiber content because substrate choice influences how the ink lays down and how the transfer adheres. The result is a durable, high-impact print suitable for streetwear, team apparel, or expressive one-offs that stand out in a crowded market.
Substrate Selection and Fabric Considerations for UV DTF
Substrate choice matters for UV DTF because the fabric surface influences adhesion, color stay, and feel. A first principle is substrate preparation for transfers: pre-washed cotton or cotton-rich blends provide the best anchor for UV-curable inks, while synthetics can show variation in color and texture. This means selecting fabrics with tight weaves and minimal nap, pre-washing to remove processing residues, and ensuring wrinkles are minimized before transfer. The result is a more predictable workflow and a cleaner edge around fine art elements. In other words, the substrate becomes a partner in the print, not a hurdle.
Beyond cotton, you’ll find that substrate preparation for transfers sometimes includes heat-set moisture control and surface flatness. For UV DTF on textiles, your goal is a smooth, dry surface so that the adhesive and ink film adhere evenly. The media choice—100% cotton or cotton blends—offers the most consistent reproduction and color fidelity with UV DTF Ink. If you venture into synthetic fibers, plan for adjustments in ink coverage and pre-press times because the texture and fiber response can affect the final look. Ultimately, substrate prep sets the stage for all the brightest colors and the sharpest details in your t-shirt design ideas.
Design Optimization for UV DTF: Artwork, Underbases, and Color Management
Design optimization for UV DTF starts with clean artwork and a color-managed workflow. Use high-resolution files (300–600 dpi) and, for dark garments, plan an effective white underbase to keep colors faithful once cured. The design stage is where you translate a concept into a print-ready file, balancing vector and raster elements and ensuring that edges are crisp to avoid halos after transfer. In this context, t-shirt design ideas that pair strong contrast with smooth gradients tend to translate especially well with UV-curable inks, which show off subtle shading and rich color without excessive ink loads.
The color workflow is equally important. Export assets in a color profile that matches your printer capabilities and verify that the soft proof aligns with the final print. This is a practical application of UV printing for textiles concepts, because accurate color reproduction hinges on correct ICC profiles, monitor calibration, and consistent curing. As you tighten the design, think about how the white layer will interact with different garment colors, how gradients transition, and how fine lines will survive the heat. The alignment of design intent with substrate type ensures your t-shirt design ideas come to life as intended, not as a compromise.
Printing with UV DTF: Inks, Mirror Printing, and Curing
Printing with UV DTF involves careful preparation of the film and ink system. You print on PET transfer film in reverse (mirror) so the final image reads correctly after transfer, and you build from a white underbase if needed to anchor light colors on dark fabrics. The UV-curable inks deliver punchy color and high detail that complement the DTF workflow, making ‘DTF transfer on shirts’ a practical description for many projects. It’s also worth noting how this phase dovetails with ‘UV printing for textiles’ by enabling gradients and photorealistic imagery on a range of textiles accessible to small businesses or hobbyists. The printing step is where your art meets the film, and the result can feel almost tactile on the garment.
Post-print handling matters as much as the act of printing. After curing, the film requires proper handling, powder application, and film cleanliness to ensure a clean transfer. This stage can influence the final look as much as the design itself, so keep the media flat, aligned, and free from dust. The approach aligns with best practices in UV DTF and helps you maintain color fidelity and edge sharpness when you move to the heat press stage. If you’re exploring ideas like photo-real textures or complex type, this step lock in those details before you press.
Heat Press Setup for DTF with UV Ink: Temperature, Time, and Pressure
A well-tuned heat press is the stage for a crisp, durable transfer. Following the heat press settings for DTF guidelines—temperature around 320–350°F (160–177°C), dwell time about 12–20 seconds, and a medium to firm pressure—helps you lock in vibrant color and clean edges. For thicker fabrics or layered colors, you may adjust dwell time slightly after testing. A short pre-press of 2–5 seconds helps remove moisture and create a flat pressing surface, which is critical for consistent results across the design. The user-friendly nature of many presses means you can standardize this part of the workflow and apply it to a range of T-shirts and textile blends.
During transfer, ensure even pressure across the design and use a protective sheet if necessary to prevent direct contact with the heat plate. After the timer, decide whether a hot-peel or warm-peel approach yields the cleanest edge with your adhesive film. If edges show lift, a brief post-press can help set the bond and ink. In short, mastering heat press settings for DTF within UV workflows is a practical skill that translates directly to consistent color fidelity, edge integrity, and durability across different garment types.
Finishing, Care, and Troubleshooting for Long-Lasting UV DTF Transfers
Post-care decisions like washing inside-out, cold water cycles, and avoiding harsh detergents preserve color and adhesion. The UV DTF Transfer offers a durable solution, but proper finishing steps help seal the design and prevent premature wear. Consider a light post-press over the printed area if the film requires a uniform surface, and always let the garment cool before handling to maintain edge integrity. When done correctly, care instructions align with the broader goals of UV printing for textiles, ensuring the print remains vibrant through repeated wear and washing.
Common issues such as color mismatch, white underbase failure on dark fabrics, or edge lifting can be mitigated with systematic checks during pre-press, curing, and post-processing. Troubleshooting steps include re-curing, verifying print alignment, and ensuring the transfer film was properly cured before pressing. The emphasis on careful substrate prep and heat-press validation mirrors the broader theme of reliable results in UV printing for textiles. With consistent care, UV DTF transfers deliver enduring wearability for t-shirt design ideas and other textile projects.
Frequently Asked Questions
What is UV DTF Transfer and how does it relate to DTF transfer on shirts?
UV DTF Transfer combines DTF technology with UV‑curable inks to print vibrant designs on textiles. It follows the same workflow as DTF transfer on shirts—from design to cure—while delivering strong color saturation, durability, and compatibility with a wide range of fabrics.
How does UV printing for textiles influence color accuracy when using UV DTF Transfer?
UV printing for textiles with UV DTF Transfer yields rich colors and smooth gradients. Plan for a white underbase on dark fabrics, manage color profiles, and rely on UV‑curable inks to preserve hue and wash durability.
What are the best heat press settings for DTF when applying UV DTF Transfer?
Use 320–350°F (160–177°C) for 12–20 seconds with medium to firm pressure. Include a 2–5 second pre‑press to remove moisture, and follow the adhesive film’s hot‑peel or warm‑peel guidance for best edge retention.
How should I handle substrate preparation for transfers before UV DTF Transfer printing?
Choose 100% cotton or cotton‑rich blends for best adhesion, pre‑wash and dry garments, and ensure a wrinkle‑free, flat surface. Pre‑press to remove moisture and create a stable base for the transfer.
Can you share t‑shirt design ideas that work well with UV DTF Transfer and UV printing for textiles?
Explore high‑contrast photography, bold typography, and gradient‑rich graphics. Use a solid white underbase on dark fabrics and layer designs to take advantage of UV inks’ color range and longevity.
What are common issues with UV DTF Transfer and how can I troubleshoot, including heat press settings for DTF?
Common issues include color fade or mismatch, white areas not appearing, edge lifting, ghosting, and ink smudging. Recheck color profiles and curing, verify film alignment, adjust dwell time or pressure as needed, and reprint or re‑cure to fix the problem.
| Aspect | Key Points |
|---|---|
| UV DTF Transfer overview | Combines Direct-to-Film with UV-curable inks to create vibrant, durable designs on textiles. Provides a clear workflow from design to final cure and supports broad fabric compatibility. |
| What you’ll gain | A practical, repeatable workflow plus design prep tips, substrate selection, heat-press settings, troubleshooting guidance, and finishing/post-care best practices. |
| Step 1: Design & Substrate Preparation | High-resolution design (300–600 dpi), color management, and a white underbase for dark fabrics. Choose 100% cotton or cotton-rich blends; pre-wash/pre-dry shirts; ensure wrinkle-free surface and solid white underbase to preserve hues. |
| Step 2: Printing with UV DTF | Print on PET transfer film in reverse; print white underbase first for dark fabrics, then color layers. Cure properly, apply adhesive powder, let film cool, and trim closely around the design. |
| Step 3: Substrate Preparation & Pre-Press | Start with a clean, dry surface. Pre-press at 120–140°C (250–285°F) for 5–10 seconds, place protective sheet, align transfer, and remove the garment quickly after pre-press to prevent distortion. |
| Step 4: Heat Press Setup & Transfer | Temperature 320–350°F (160–177°C), time 12–20 seconds, and medium-to-firm pressure. Include a 2–5 second pre-press, use a protective sheet, and peel hot/warm per film instructions. |
| Step 5: Post-Transfer Care & Finishing | Cool briefly, consider a secondary press (5–8 seconds) if needed, wash inside-out in cold water, air or low-heat dry, and avoid harsh detergents. Optional light post-press to even ink surface. |
| Troubleshooting: Common Issues | Color fade/mismatch: verify color profiles and full cure. White areas not appearing: reprint/re-cure. Edges lifting/cracking: adjust pressure and dwell time. Ghosting/smudging: ensure stable alignment and cure before handling. |
| Step 6: Design Ideas & Practical Tips | Use high-contrast images, smooth gradients, and bold typography. Layer textures or gradients for depth; maintain a fixed color palette for branding; test across fabrics for color longevity. |
Summary
Conclusion